MobileAds Integration
![]() Updated
by
ReklamStore
Updated
by
ReklamStore

ReklamStore DSP integration in MobileAds
MobileAds is an HTML5, video & rich media ad server for agencies, advertisers, and publishers which offers direct integration with ReklamStore DSP. You can serve & track all your ads in major DSPs, ad networks & publishers. Also, MobileAds has their own white-label rich media creator. You can create your rich media ad in mere minutes.
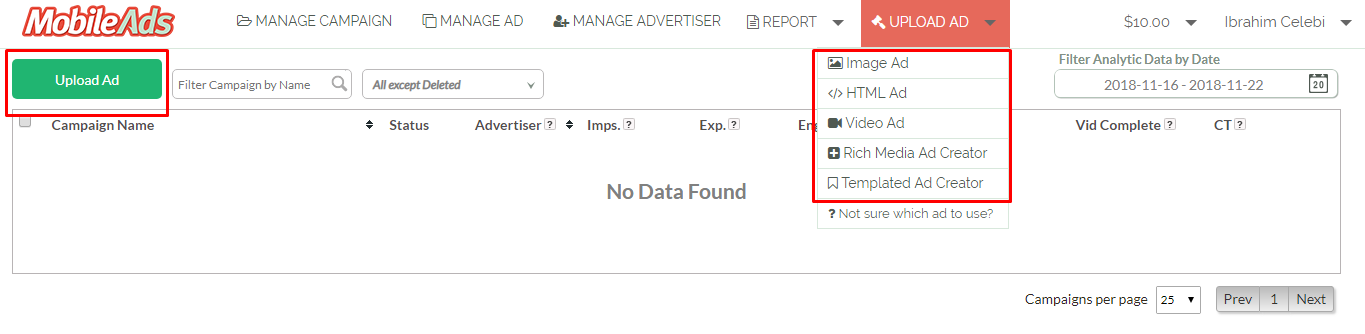
Step 1: Upload Your Ad on MobileAds
On your dashboard click one of the buttons pointed with the red square on the screenshot to start uploading your ad. You can use Rich Media Ad Creator or Templated Ad Creator to create your own rich media ad on MobileAds and then use it on your campaign as well.
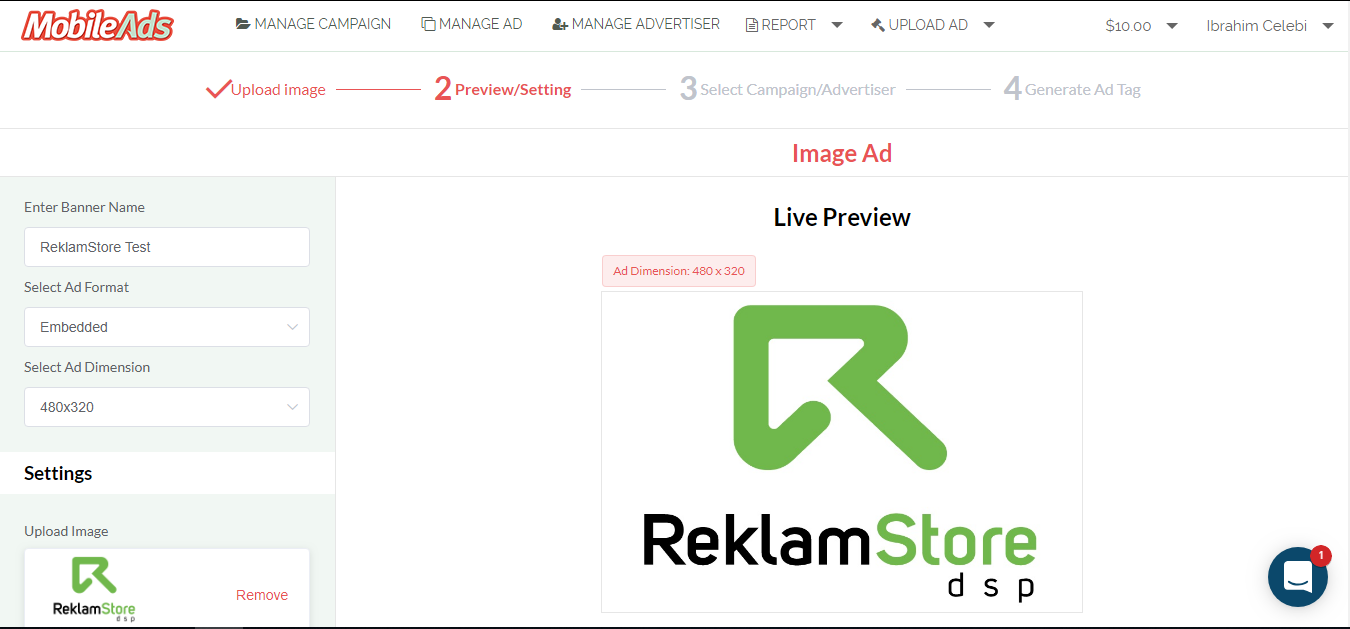
Step 2: Define Banner Specs
As the second step of the uploading ad flow, Mobile ads will ask you to define the name, format, dimensions, and landing page URL.
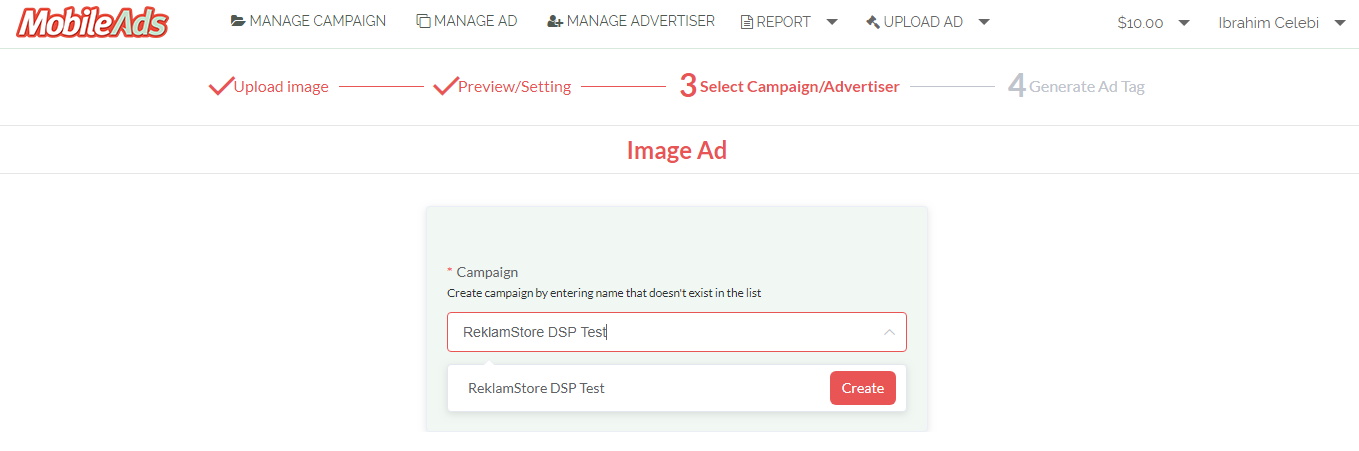
Step 3: Select Advertiser
Once you complete the previous step and click Continue, MobileAds will ask you to select the campaign advertiser. If you didn't create any previously, you can create one in that step.
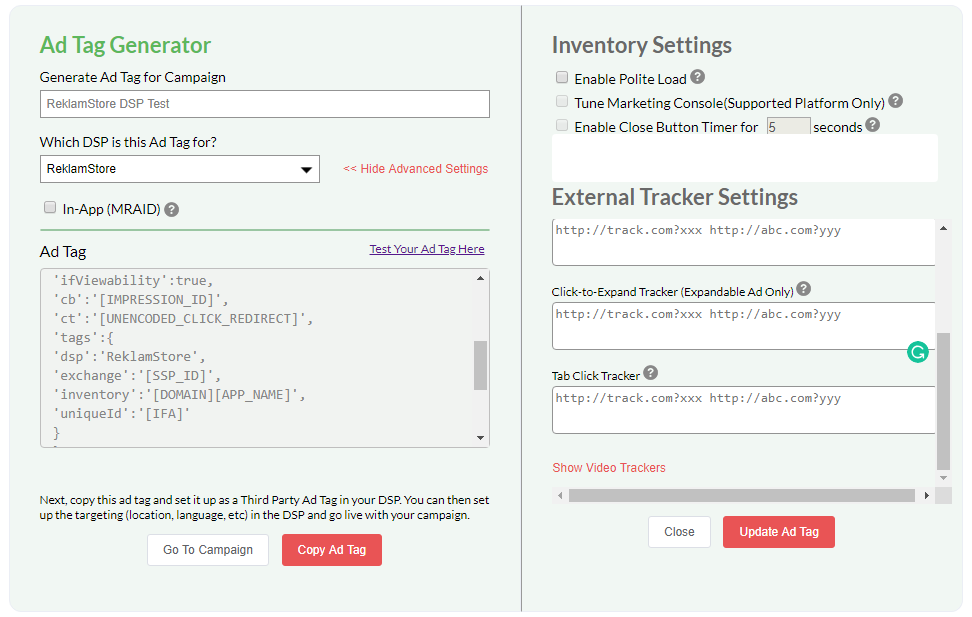
Step 4: Generate Your Ad Tag
Under Ad Tag Generator, select ReklamStore from Which DSP is this Ad Tag for? field. Your ad tag will be displayed immediately and ready to use. If you wish to update it, you can click Advanced Settings and do the necessary changes. Or else, click Copy Ad Tag and open your ReklamStore DSP Panel.
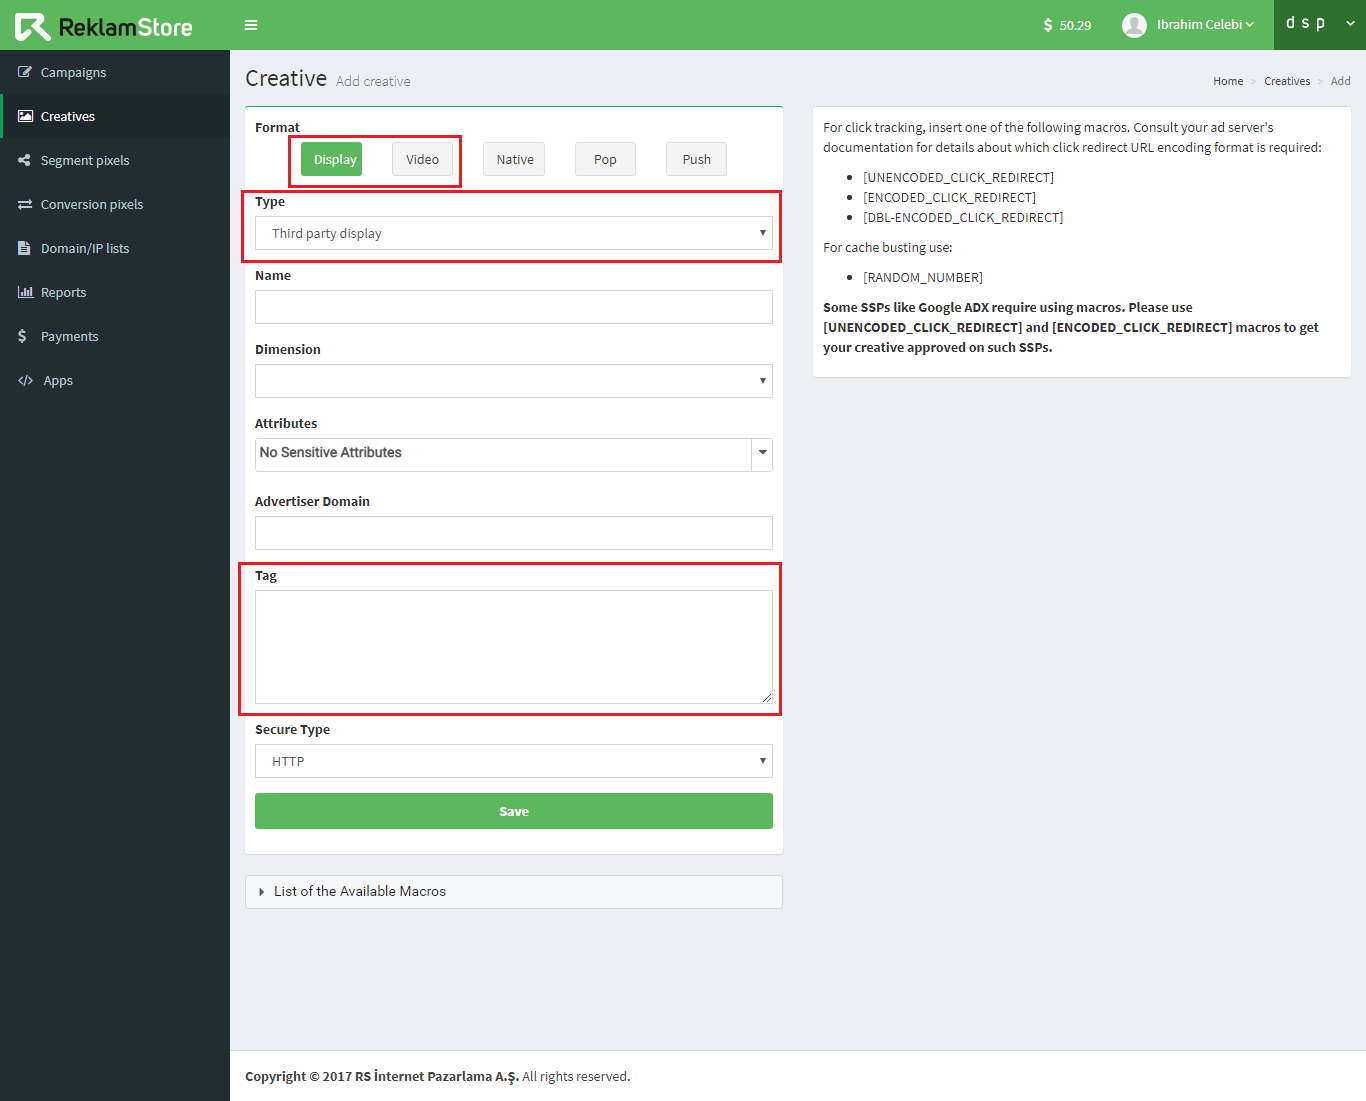
Step 5: Add Your Ad Tag to Your Creative on ReklamStore DSP
On your ReklamStore DSP dashboard, click Creatives, and then click Create. You can add your ad tag if you are going to run a display or video campaign. Simply select Third Party Display / Video from the Type menu and paste your ad tag to the Tag field. Fill the other necessary fields, click Save and it's done!